Week 7: Computer-Controlled Machining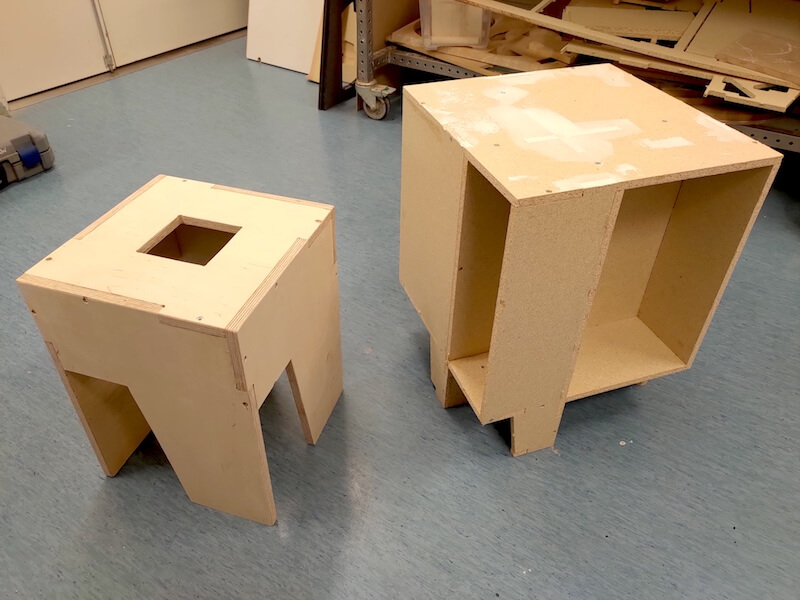
#Fusion360 #CNC #Mach 3
Assignments: (Group) 1. Test runout, alignment, speeds, feeds, and toolpaths for your machine. (Individual) 2. Make (design+mill+assemble) something big.
Published on: Mar 11, 2020Last updated on: Jan 12, 2021
Group Assignment: Characterize Our CNC Machine
Link to Documentation Page
Individual Assignment: Chair & Rotational Table CNC Milling
Materials
| # | Name |
|---|---|
| 1 | CNC Milling Machine: Recontech 1312 (Manual) |
| 2 | 6mm Two-Flute Square Flat Milling Bit |
| 3 | 15mm Plywood |
| 4 | 12mm Fiberboard |
Design Tool: Fusion 360
3D Designing with Fusion 360: Learn more from Week 2: Computer-Aided Design
Generate Bit CAM-Toolpath in Manufacture Section of Fusion 360
After finishing designing the chair and the table, I unfolded their parts and placed them within one piece of flat plywood respectively.
Chair:


Rotational Table:


The bit I used for milling the rotational table (12mm fiberboard) and the chair (15mm Plywood) is 6mm thick and its shape is two-flute square flat.

I followed the steps below to generate the toolpaths:
- Select 2D Contour within the Manufacture section.

- Add the bit to the Tool by typing correspondent parameters.

General:

Cutter:


Cutting data:

Cutting speed & Tool Feed Calculation:

Post processor:

- Back to the 2D Contour window to finish the settings of other tabs.
Geometry:

Heights:

Passes:

Linking:

- Click Generate to get the toolpath.

- Click Simulate to watch if the spindle moves correctly.

- Click Post Process to set the correspondent post processor (Here: Mach3Mill) and export the tap file for milling.


Fabrication: Recontech 1312 CNC Milling Machine
Following is the CNC machine I used for milling.

The fabrication steps are:
- Follow the manual to set up the CNC working environment.


- Use foams and the built-in vacuum table to suck/fix the plywood.

- Insert the bit into the spindle with 2 spanners.


- Measure the focus of the z-axis by pressing the Terän mittaus button in Mach3 to touch the yellow magnet.


- Set the milling origin to the bottom left corner by moving the spindle with Left, Right, Up, Down Arrow and Page Up/Down keys.


- Open the tap file in Mach3.

- Click Regen Toolpath.

- Reduce the Slow Jog Rate to 20% during the initial milling.

- Start milling by pressing the red button in the outside room.


The inital cut depth:
The max cut depth:
- Gradually increase the Slow Jog Rate to 100% during miiling.


Assembling & Sanding
After finishing milling, I followed the steps below to do the post-processing:
- Separate the cutting parts with the following tool manually.

- Assemble the chair with screws and an electric drill.
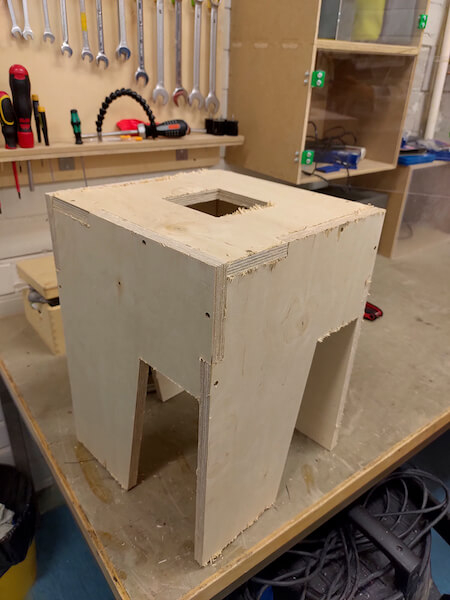


- Remove the rough wooden fibres with a sanding machine.
- Fix the chair for gluing with G clamps.

- Add the top sheet.

- Remove the extra glue with tissues.


- Wait for drying.


- Finish!


End Result


Problem & Solution
The dust sometimes affected the sucking strength of the vacuum and therefore made the plywood move during milling, which was really dangerous. I needed to pause the machine to remove the dust and fix the sheet again evrey now and then before continuing milling.

